
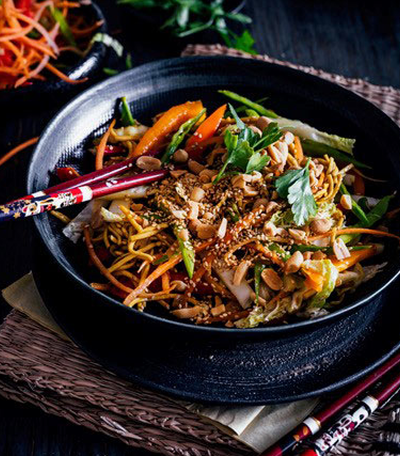
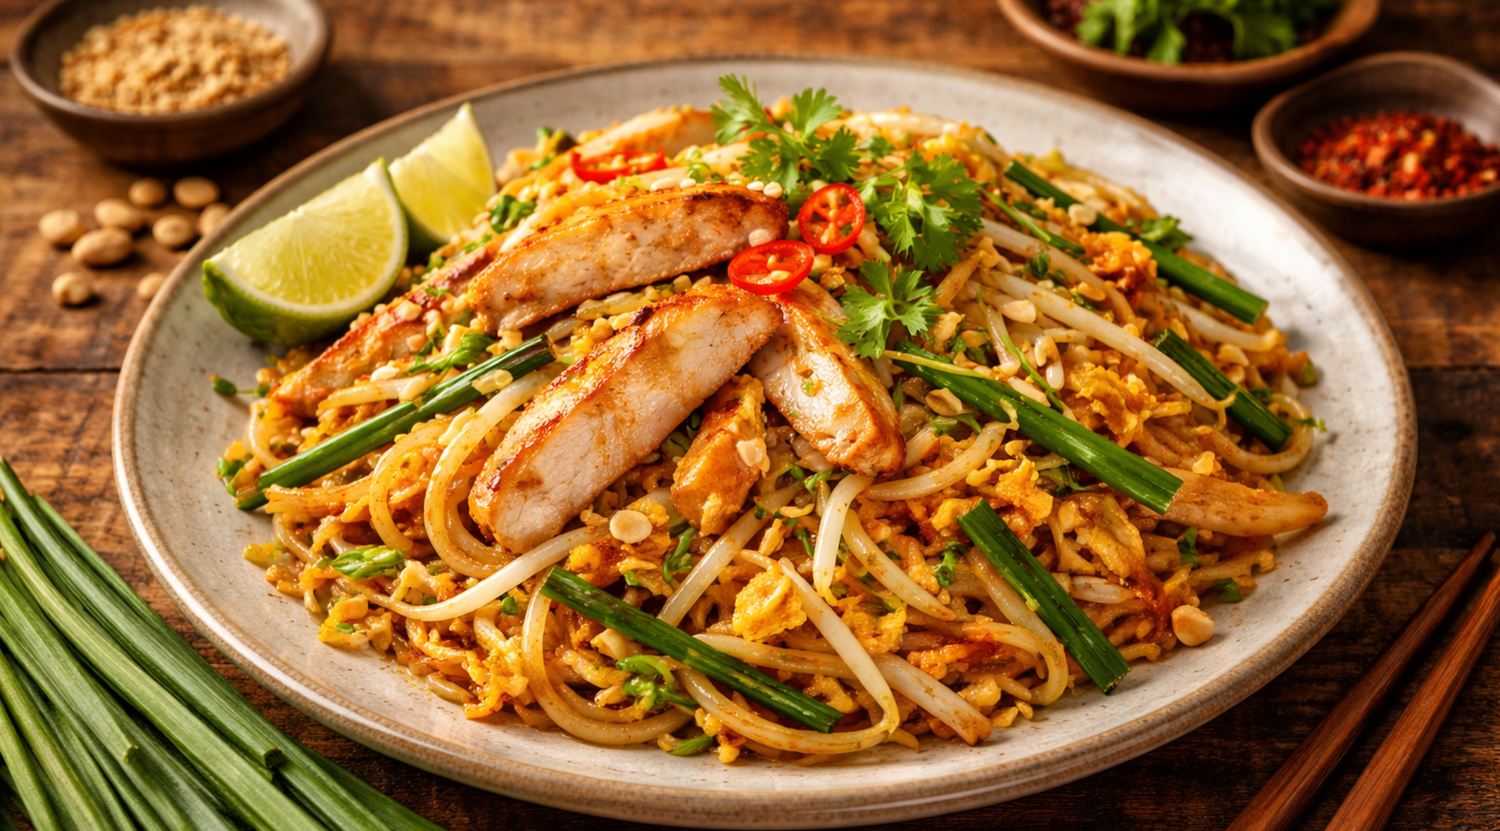
Pad Thai: Your Asian Moment at the Stove
Cooking is a culinary journey powered by pinpoint temperature, precise timing, and a love of detail. This technique of aroma infusion in the quick-frying pan brings professional quality straight to your stove and opens up new ways for creative home chefs like us.
It’s all about intense flavors and the right tool, so every challenge becomes your personal success. Whether searing at high heat or gently cooking, you perfect your craft with real dedication. Make this Pad Thai interpretation your culinary highlight. With the quick-frying pan as your companion, it’s time to see what’s possible for you
35 min
Total Time
10 min
Cooking Time
25 min
Preperation Time
Ingredients
| 300g | Corn chicken breast |
| 200 g | Rice ribbon noodles (made from 100% rice) |
| THE UMAMI TRIAS: | |
| 1 jar | Tamarind paste (no added sugar) |
| 1 bottle | Fish sauce |
| 1 block | Palm sugar |
| FRESHNESS & CRUNCH: | |
| 1 bunch | Thai chives (Gui Chai) |
| 100 g | fresh mung bean sprouts |
| 2 | Organic eggs |
| 50 g | unsalted butter |
| 2 | Organic limes |
| 1 | Shallot |
Instructions
Step 1 of 9:
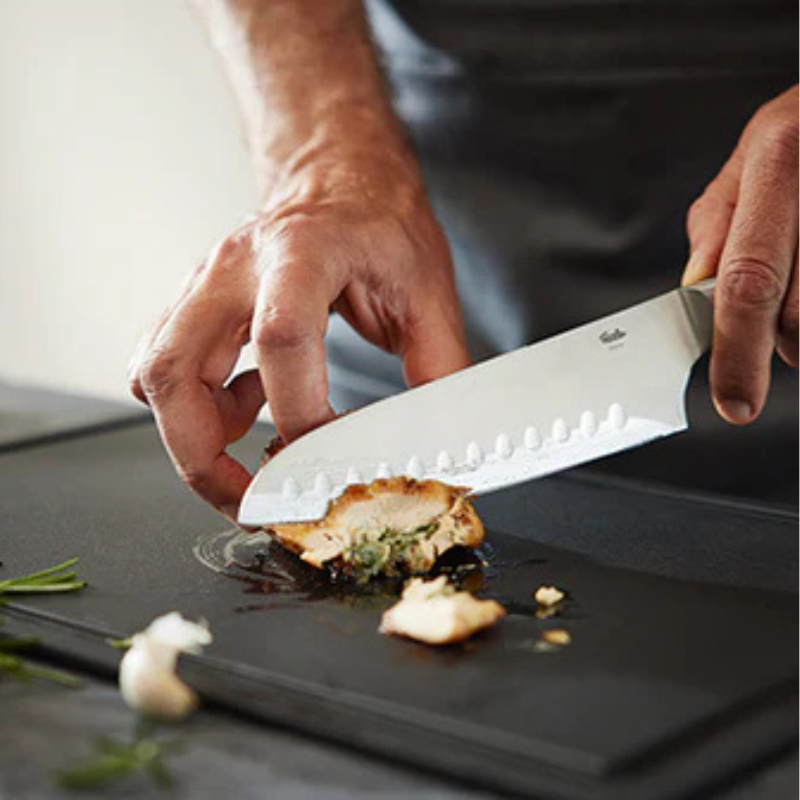
Chicken prep: Cut the meat into wafer-thin, almost transparent slices (tranchen) across the grain. This keeps it nice and tender.
Step 2 of 9:
The sauce: The sauce: Mix 4 tbsp. tamarind paste, 3 tbsp. fish sauce, and 2 tbsp. finely grated palm sugar. Tipp: Add 1 tsp. of water so the sugar does not caramelise on the bottom in the pressure Frying Pan.
Step 3 of 9:
Aromatics: Dice the shallot and garlic extremely finely. Cut the Thai chives into pieces exactly 4 cm long.
Step 4 of 9:
Peanut finish: Toast the peanuts in the pressure Frying Pan (without oil) until fragrant. Then crush them in a mortar into a fine meal. Extra-Tipp: Soak the noodles in cold water 45 minutes before cooking to preserve their cell structure.
Step 5 of 9:
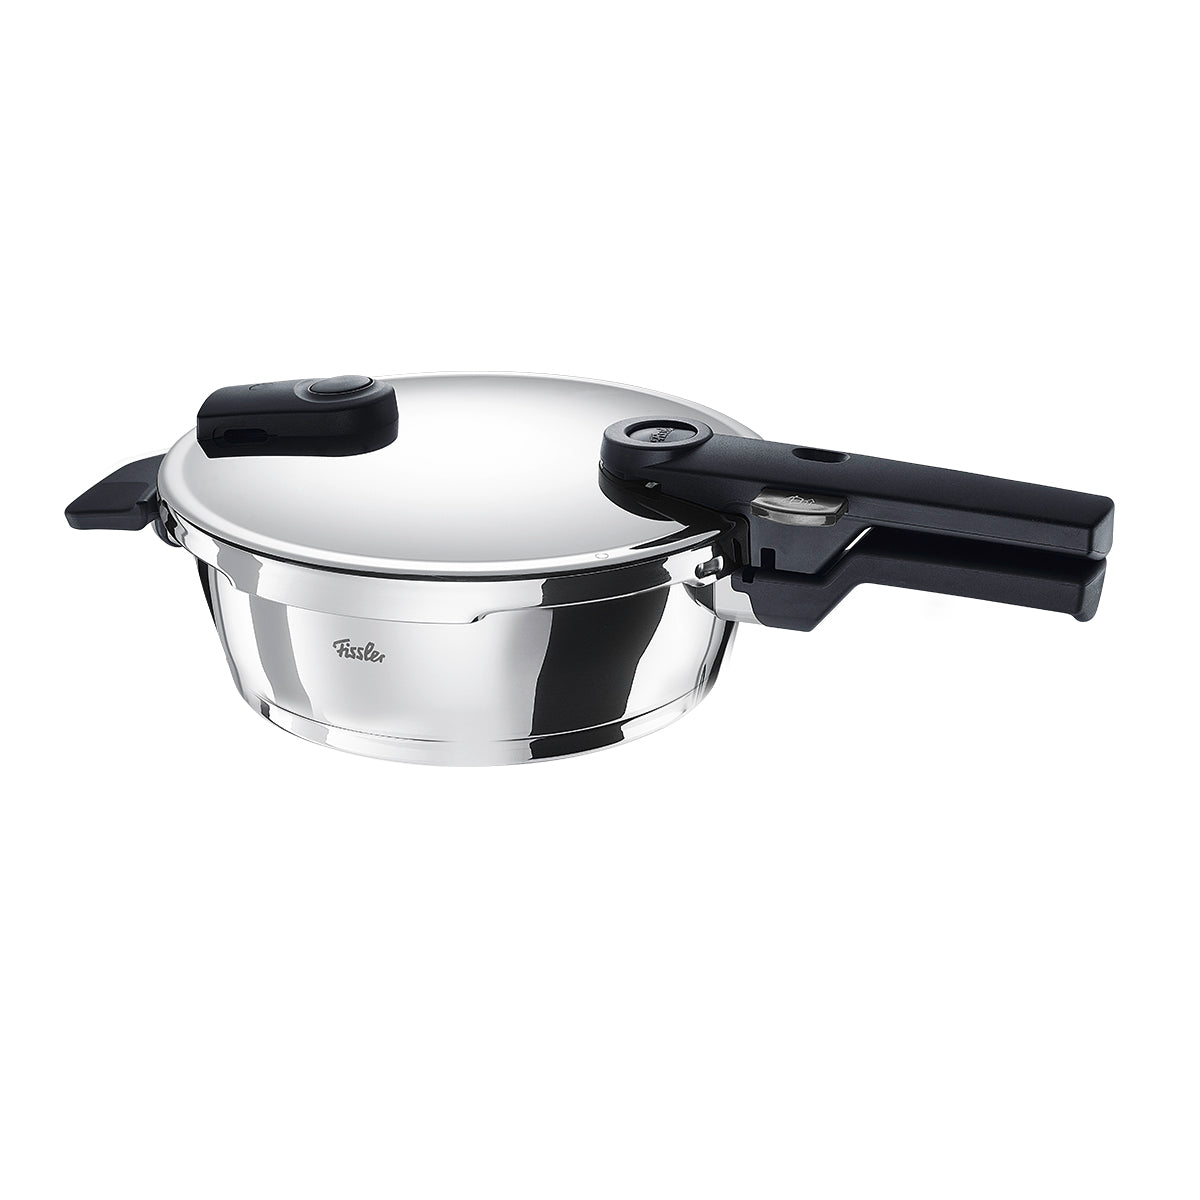
Searing (open): Heat the pressure Frying Pan uncovered on high. Add 2 tbsp. neutral oil and wait until it starts to shimmer lightly. Lay the chicken slices in flat, in batches. Fry them for 10-15 seconds per side, until they take on colour outside but are still raw inside. That is exactly how they should be. Remove the meat from the Frying Pan immediately and set aside. Reduce the heat slightly and add the shallots and garlic. Sweat them for no more than 30 seconds, until translucent
Step 6 of 9:
Layering: Pour the prepared tamarind-fish sauce-palm sugar mixture into the Frying Pan. It should bubble lightly, but not caramelise. Lay the drained rice noodles flat in the Frying Pan and spread them evenly. Then drizzle them with about 50 ml of water. Place the seared chicken on top as the uppermost layer over the noodles. Do not mix, so the meat cooks only in the steam and stays juicy.
Step 7 of 9:
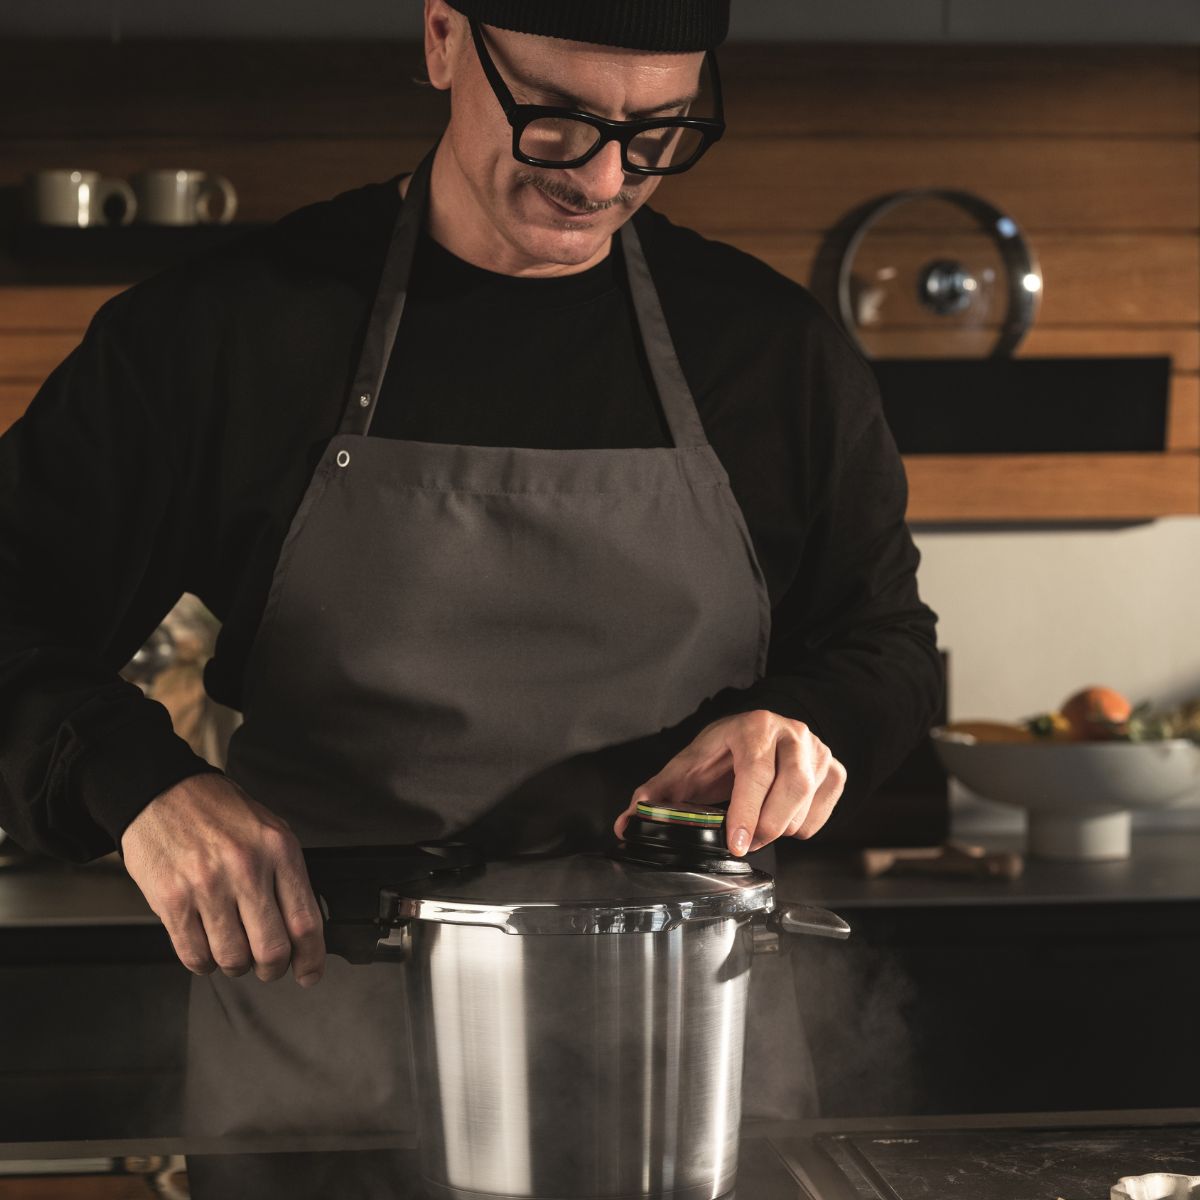
Pressure phase: Lock the Lid. Set the pressure Frying Pan to pressure level 1 (low). As soon as the pressure ring becomes visible: immediately reduce the heat to the minimum and hold for 45 seconds. Everything happens in this phase: the noodles absorb the sauce, the chicken cooks perfectly, and tamarind, fish sauce, and palm sugar come together.
Step 8 of 9:
Release pressure & finish: Release the pressure manually and immediately. Be careful of the steam. Open the Lid and push the noodles to one side to create a clear space in the Frying Pan. Crack the eggs directly into it and let them set briefly, but do not cook them through completely. Gently fold the eggs, mung bean sprouts, and Thai chives into the noodles.
Step 9 of 9:
Final taste test: Adjust the seasoning and refine if needed: Missing acidity? Then add a squeeze of lime. Missing depth? Then refine the Pad Thai with a few drops of fish sauce. Extra-Tipp: If there is still too much liquid in the Frying Pan after opening, switch the sauté function to high for 30 seconds. The starch from the noodles will bind the sauce in seconds.